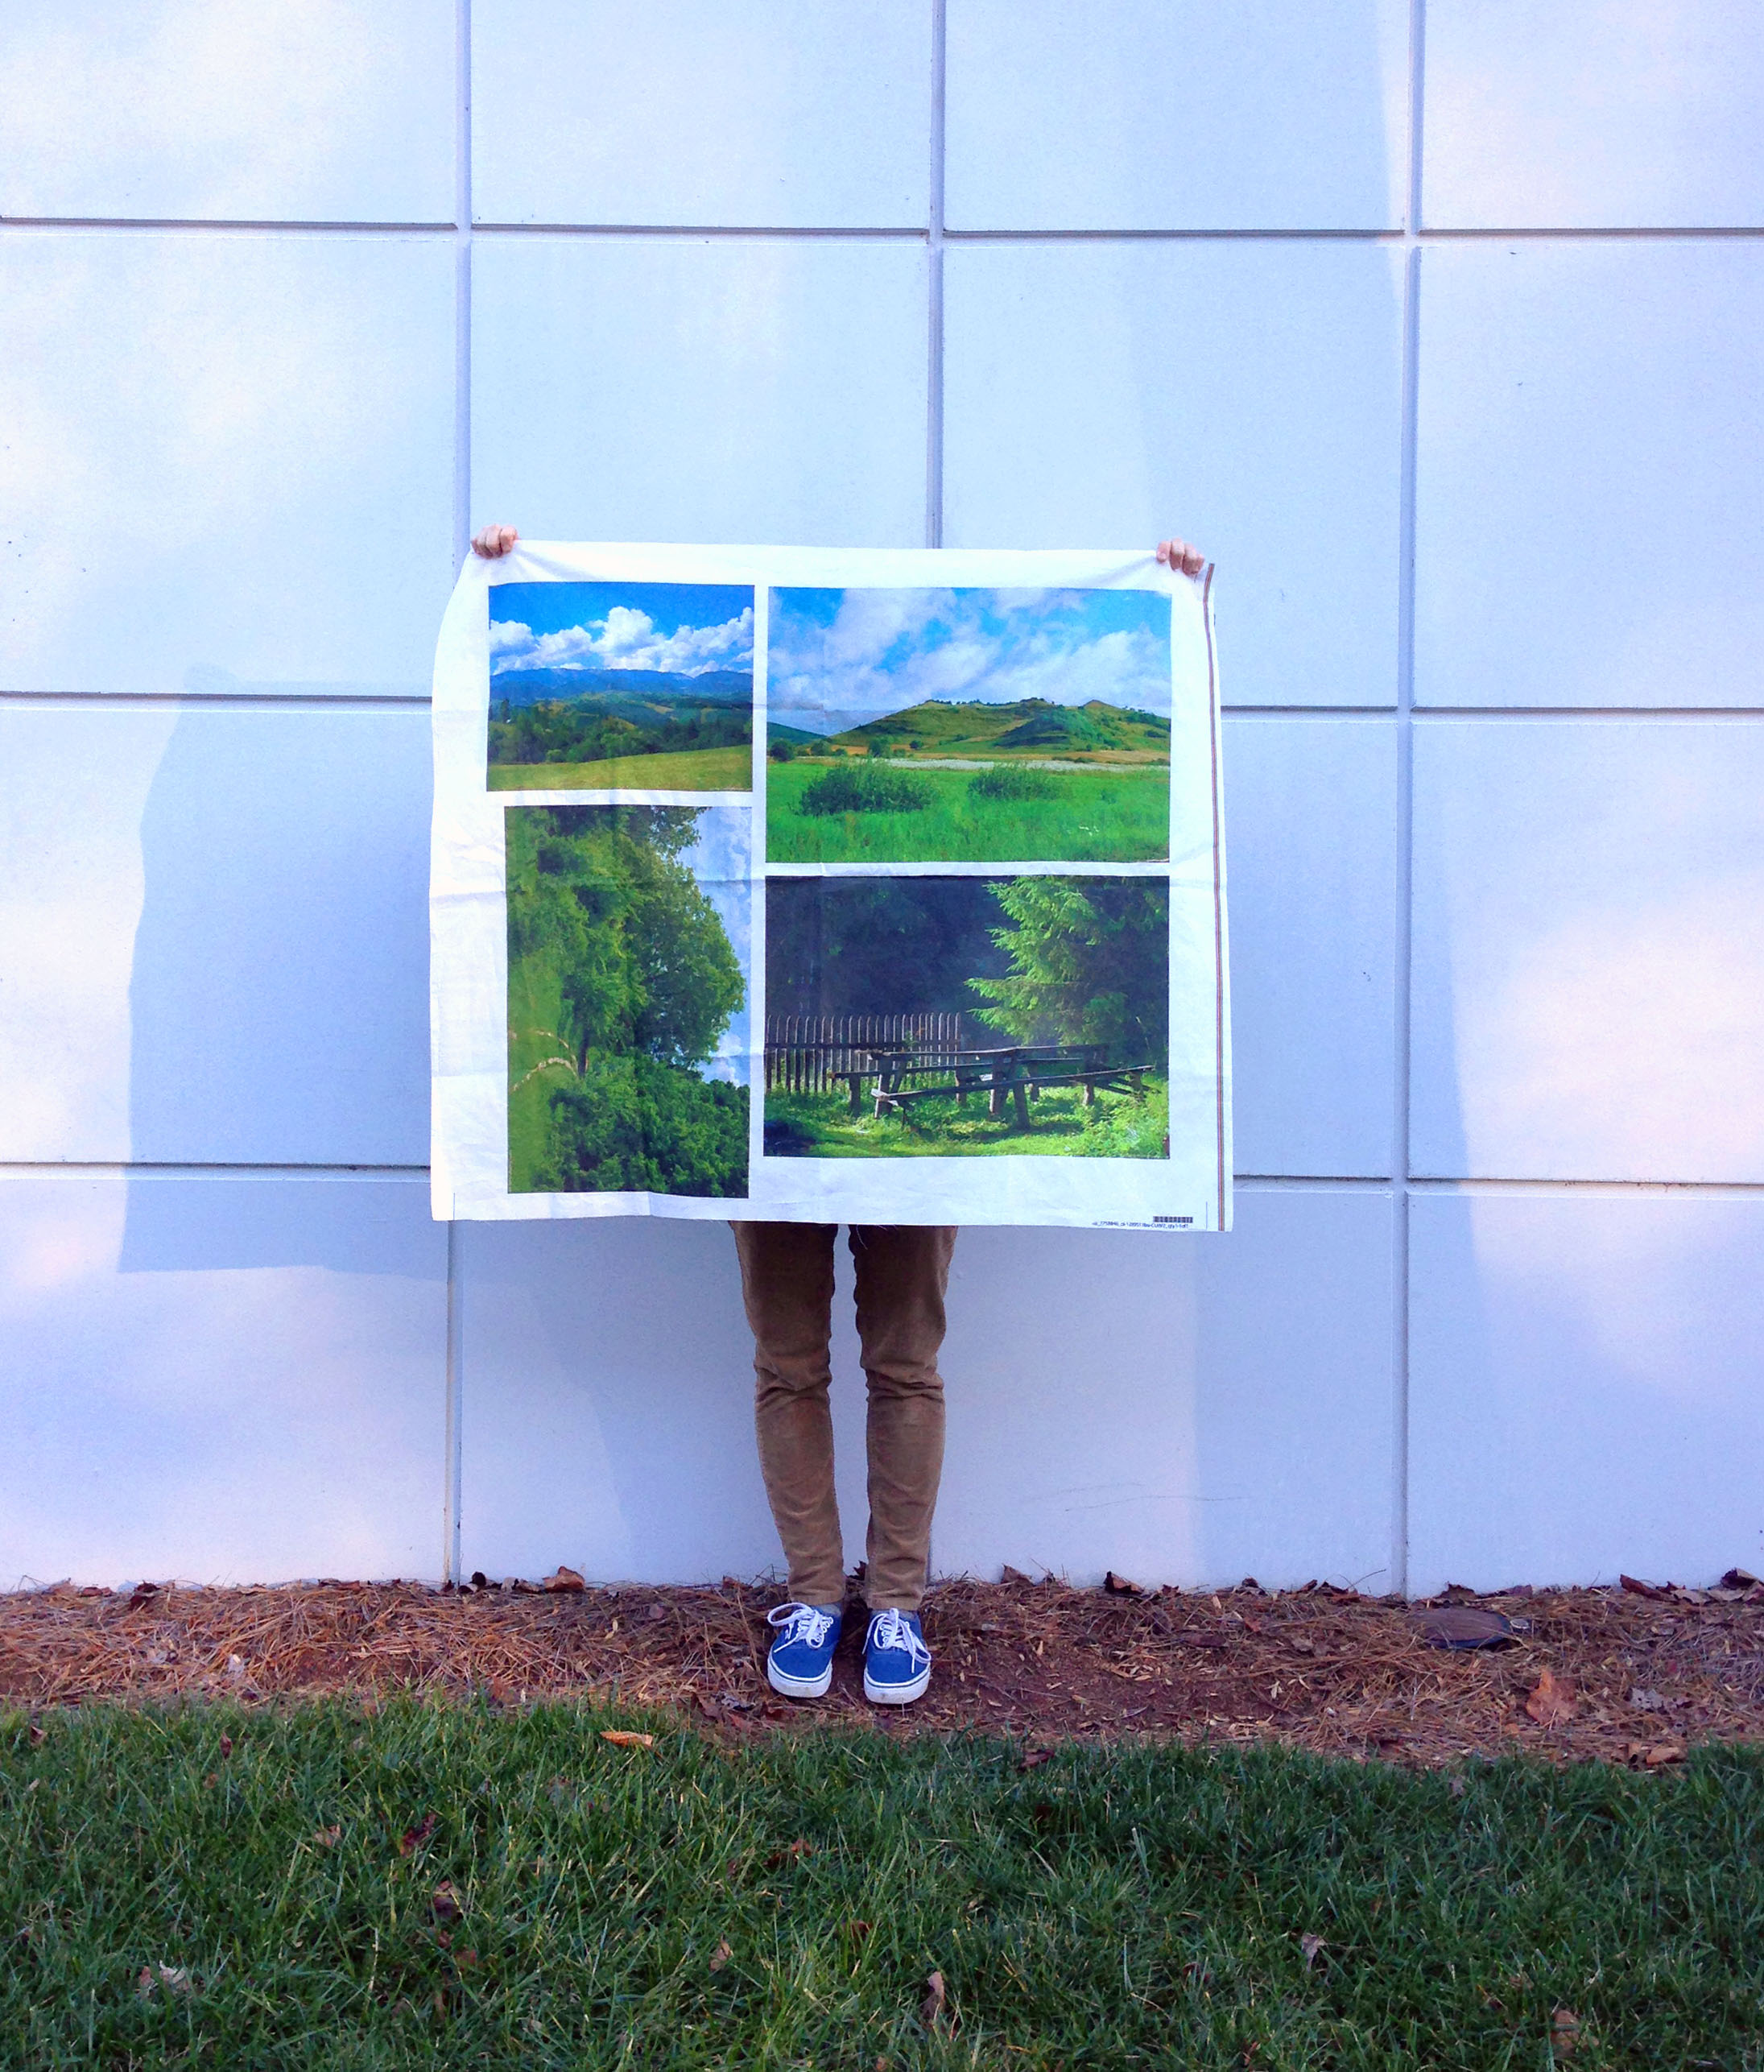
This tutorial helps you create large images using the program Gimp. Gimp is an image editing tool which may be downloaded for free at www.gimp.org
To create a design that will fill one yard of our 42” fabrics --as shown in this tutorial-- (Petal Signature Cotton® and Cotton Poplin Ultra) your design will need to measure 6300 pixels x 5400 pixels or 42” x 36”. If you would like to create a different size file you may find the pixel dimensions for each fabric here: How big should my image be?
- To get started in Gimp click File > New. Then, enter the dimensions in pixels for your total design size. Take care to keep the orientation setting in landscape by clicking the tiny picture with mountains. Then, click Advanced Options and enter 150 pixels/in for both the X and Y resolution. Take care to leave your file in the RGB color space as shown here:
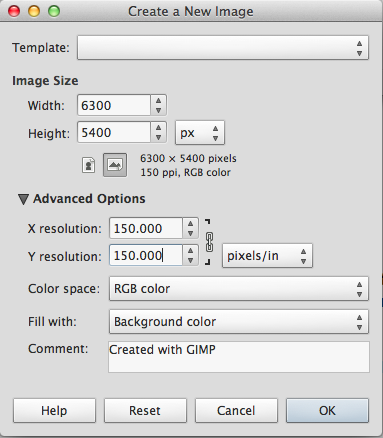
- You may be prompted to confirm image size as you are creating a large file, click OK to confirm. Now you will have a properly sized canvas on which to create anything you would like!
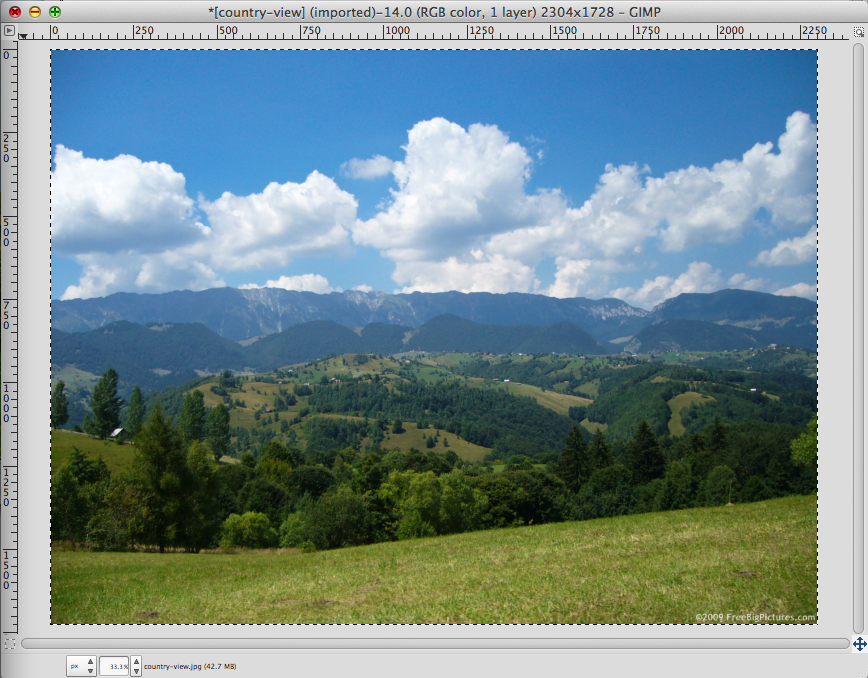
- You can use the paint and stamp tools to create an image from scratch or you can add some images you already have. For this example we downloaded some images here: http://freebigpictures.com
- After you have the images or designs you want saved in a file on your computer click File > Open and select the files you would like to add to your full yard design, to select multiple files hold down the shift key while you select. Then, click Open.

- Click on the window for the first image you would like to add. Click Select > All then click Edit > Copy.
- To add your image to your canvas, navigate back to your original blank canvas. Here, click Edit > Paste to add your image to your full yard file. The image will automatically be selected, so you may drag the image to the area of the canvas you would like. Each time you paste a new item it will be automatically selected and easy to drag to a new location.
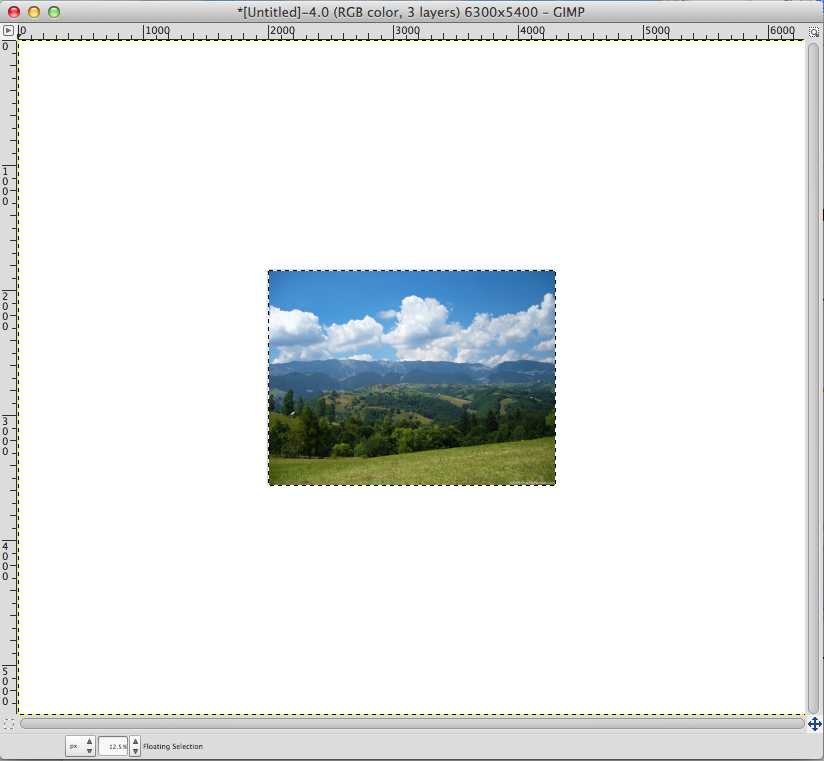
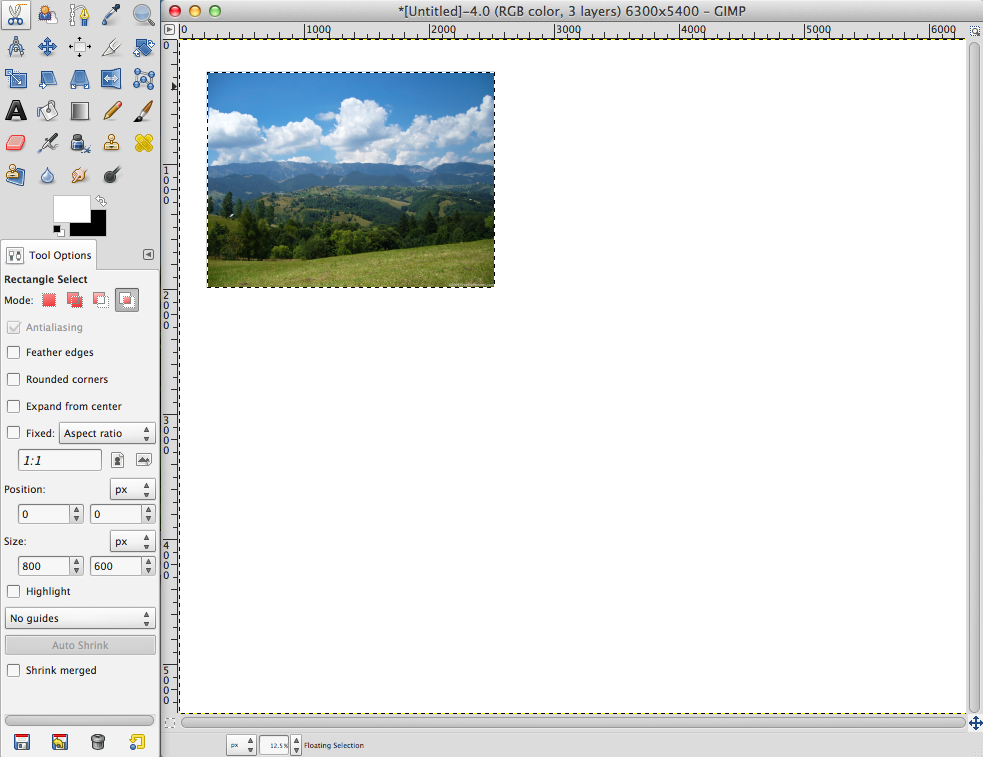
- Repeat this step for each image individually until you have all of the images you would like added and arranged over your canvas/yard. If you would like to rotate an image, paste it onto your canvas as described above.
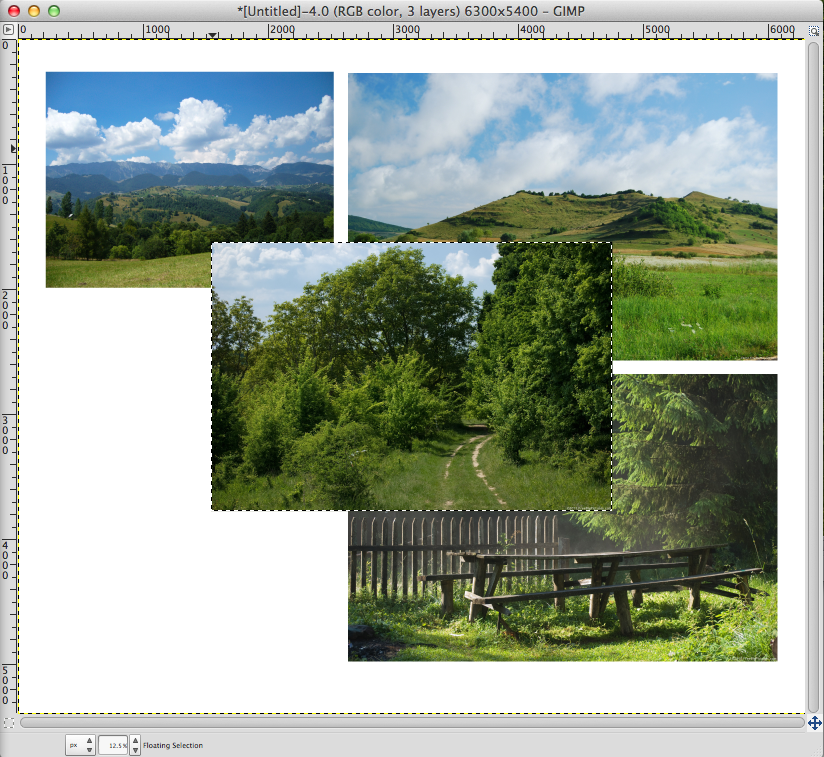
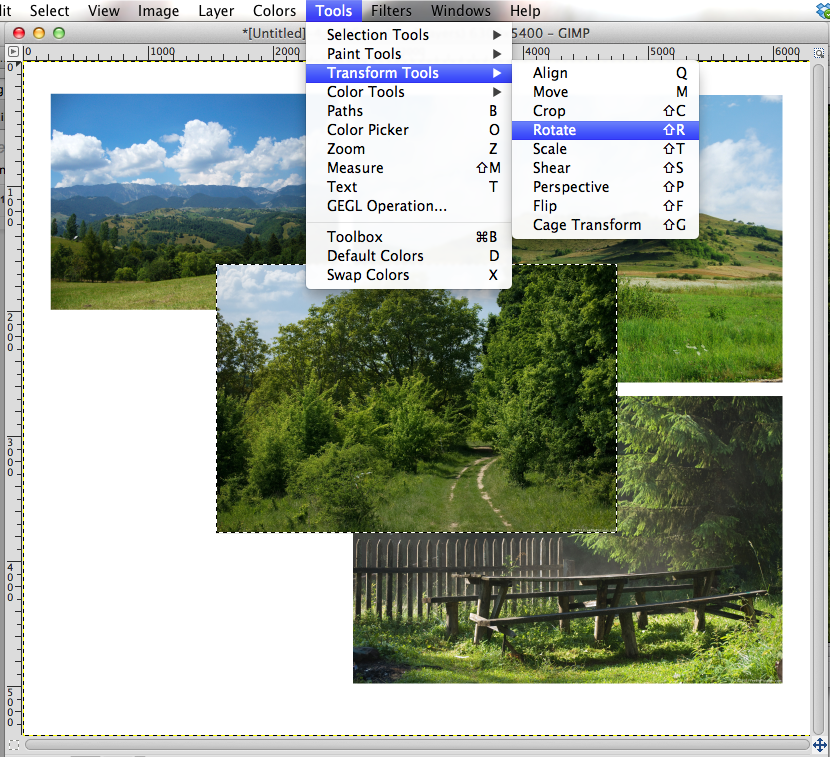
- While the new image is still selected click Tools > Transform Tools > Rotate. This will open a Rotate menu. Here I rotated my image 90 degrees.
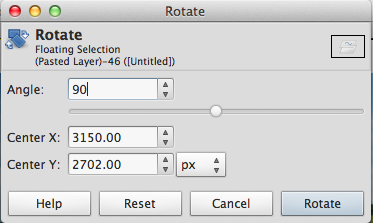
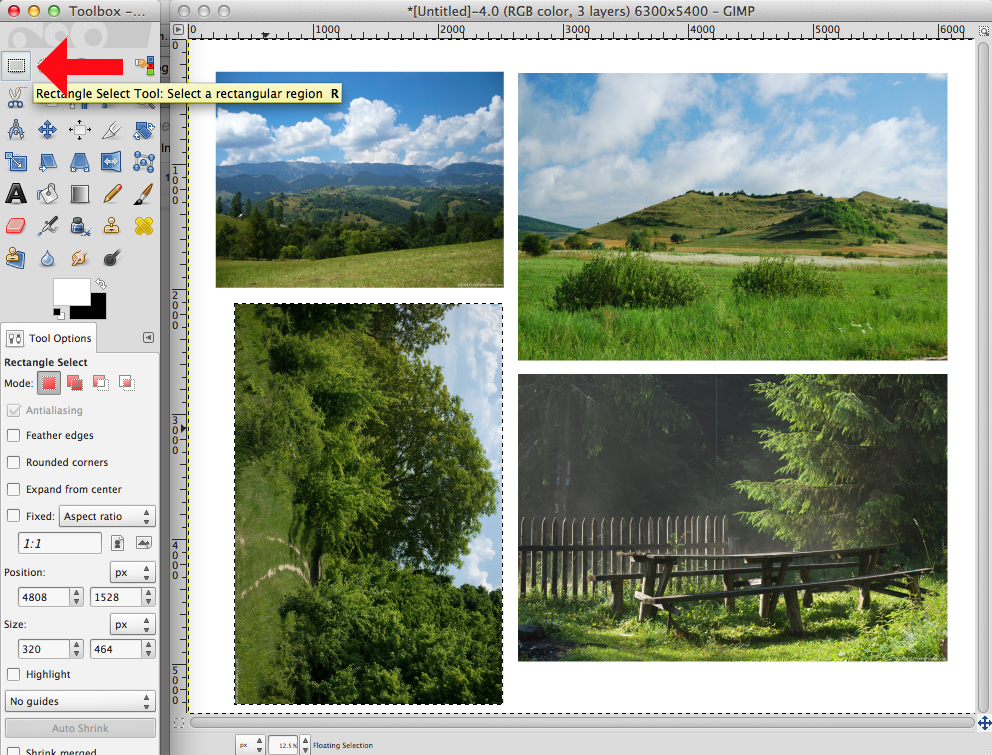
- After selecting the rotation for your image take care to select the Rectangle Select Tool (as shown with a red arrow here) before moving your rotated image to a new location.
Note: You can also resize your design though, take care not to make it much larger as this can result in a blurry image. To resize, Pick the Rectangle Tool and select the area you would like to scale. Click Tools > Transform Tools > Scale. To keep the ratio as is click the chain icon to the right of the dimensions so that it appears to link. Here you can put in an exact dimension as needed for your specific project or drag the corners until your design appears as you would like then click Scale.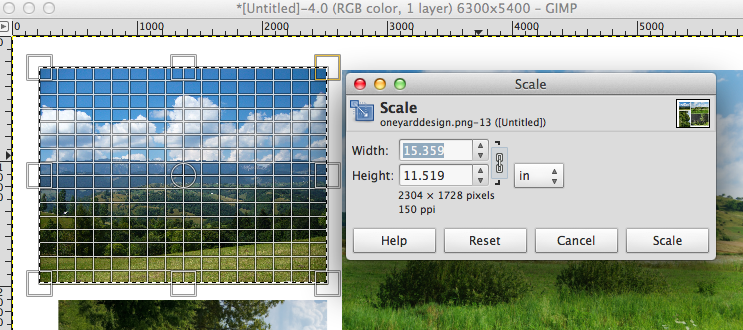
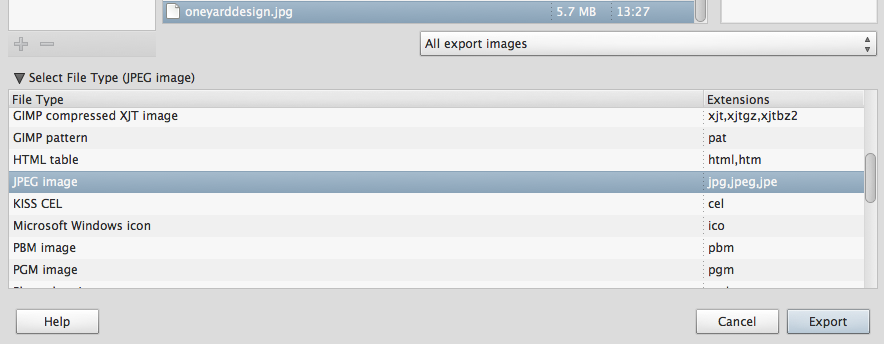
- Once you have all of your images added and arranged on your one yard file save your file by clicking File > Save. Once you have saved your original file, click File > Export. In the pop up window, click Select File Type by Extension. Scroll down and pick ‘JPEG image’ then click Export. Change the quality to 80 and click Export to save your image file to your computer.
- The last step is setting up your design on Spoonflower. After logging into your Spoonflower account click Create > Fabric. Here, browse for the jpeg file you just created in Gimp. After you locate and select the file click Upload then your design preview will be generated. Here, click the type of fabric you would like then Yard to see a preview of your full design over one yard of fabric.
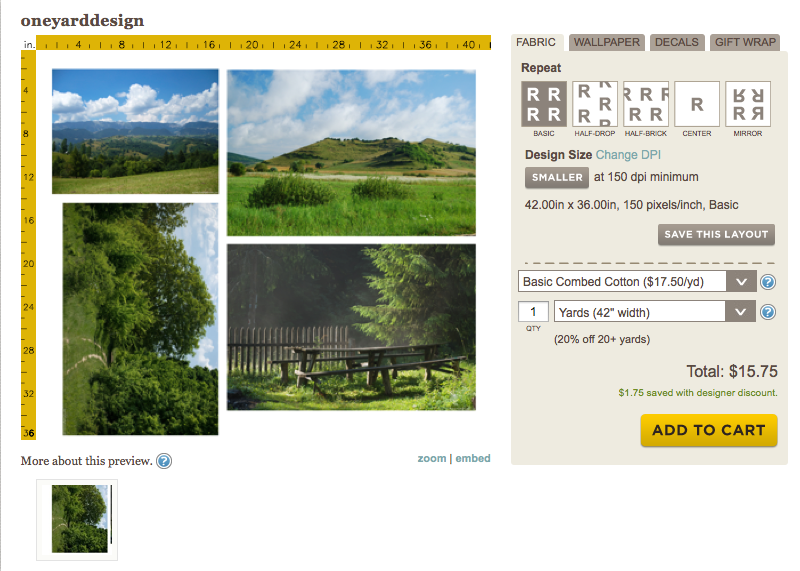
- If your design appears as you would like for it to print click Save this layout.
- The preview window will Illustrate up to 5 continuous yards. In order to preview how your design will print over several yards increase the quantity.
Here we have the repeat set as Basic, and the quantity updated to ‘3’ for a continuous 3 yard print preview.
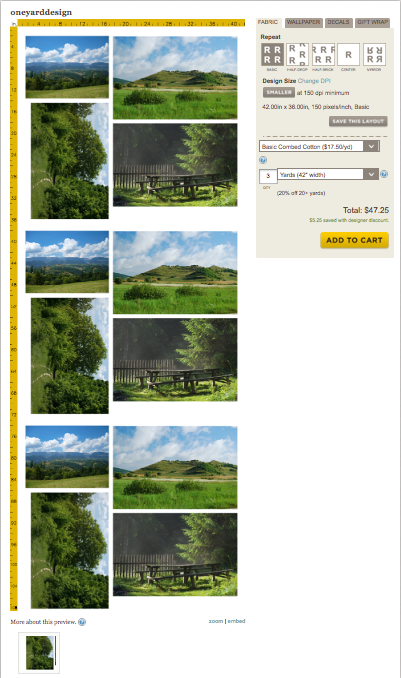
Here's the final product!
